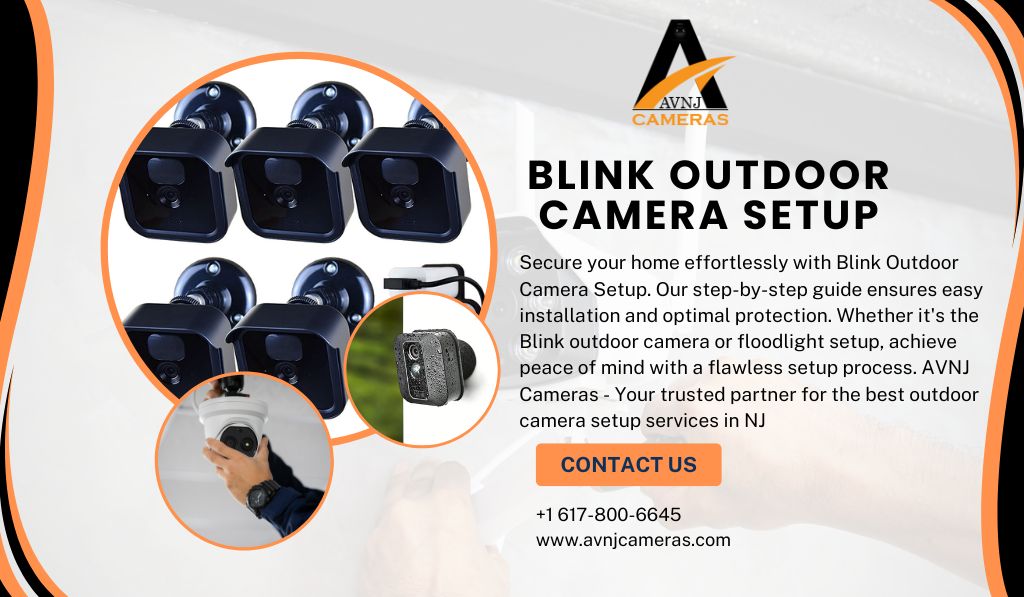
If you’re looking to improve your home security with a Blink outdoor camera, you’re in the right place. This guide will walk you through 10 easy steps for a successful Blink outdoor camera setup, providing your installation process is as smooth as possible. We’ll cover everything from the basics of Blink outdoor camera installation to setting up the Blink outdoor floodlight camera.
1. Unbox Your Blink Outdoor Camera
The first step in your Blink outdoor camera setup is to unbox your camera and ensure you have all the necessary components. Inside the box, you should find the Blink outdoor camera, a mounting bracket, screws, a quick start guide, and any other accessories. Double-check the contents against the manual to make sure nothing is missing.
2. Download the Blink App
To start the Blink outdoor camera installation, download the Blink app from the App Store or Google Play. The app is essential for setting up and managing your camera, so make sure it’s installed on your smartphone or tablet before proceeding.
3. Create a Blink Account
Open the Blink app and create an account if you haven’t already done so. You’ll need to provide your email address and create a password. Once your account is set up, you can log in and start configuring your Blink outdoor camera.
4. Connect the Blink Outdoor Camera to Your Wi-Fi
Follow the instructions in the Blink app to connect your camera to your Wi-Fi network. Ensure that your Wi-Fi signal is strong where you plan to install the camera. A weak signal can affect the camera’s performance and connectivity.
5. Install the Batteries
Insert the batteries into your Blink outdoor camera. The camera uses AA lithium batteries, which are included in the package. Make sure the batteries are installed correctly, following the polarity indicators inside the battery compartment.
6. Mount the Blink Outdoor Camera
Now it’s time to install the Blink outdoor camera. Choose a location that provides a clear view of the area you want to monitor. Use the mounting bracket and screws included in the package to secure the camera to your wall or other surface. Ensure that the camera is positioned at the right angle for optimal coverage.
7. Adjust the Camera Angle
After mounting the camera, adjust its angle to cover the desired area. Use the live view feature in the Blink app to check the camera’s field of view and make any necessary adjustments. Proper placement and angle adjustment are crucial for effective surveillance.
8. Set Up the Blink Outdoor Floodlight Camera
If you’re using the Blink outdoor floodlight camera, follow the specific setup instructions provided for this model. The Blink outdoor floodlight camera setup involves additional steps, such as attaching the floodlight and ensuring proper power supply. Refer to the user manual for detailed instructions.
9. Configure Camera Settings
Once your camera is mounted and positioned correctly, configure the settings through the Blink app. You can set up motion detection zones, adjust sensitivity, and customize notification preferences. Proper configuration ensures that you receive alerts for any activity within the camera’s view.
10. Test the Setup
Finally, test your Blink outdoor camera setup to ensure everything is working correctly. Check the live feed, motion alerts, and recorded footage to confirm that the camera is functioning as expected. Make any final adjustments to settings or camera placement as needed.
Conclusion
With these ten easy steps, you can complete your Blink outdoor camera setup and enhance your home security. Whether you’re installing a standard Blink outdoor camera or the Blink outdoor floodlight camera, following these guidelines will ensure a successful installation.
For professional assistance with your Blink outdoor camera setup, AVNJ Cameras provides the best outdoor camera setup service in NJ. Our experts can help with installation, configuration, and troubleshooting to ensure your security system is up and running smoothly. Contact us today for top-notch service and support!


